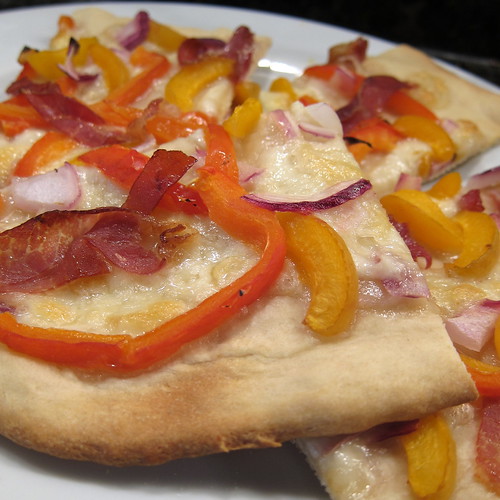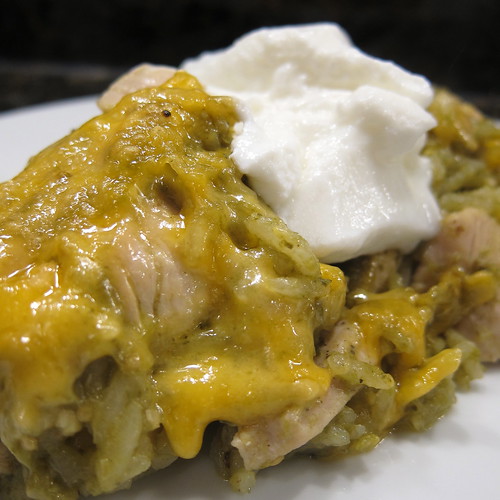
The St. Patrick's Day Burgers from Burb! Where Food Happens were on our menu for the week & they are topped with the whiskey caramelized onions. Then it hit me, "oh, those whiskey onions would be good in mac & cheese too!" Matt had picked up some smoked mozzarella to go on our pizza & we both realized that smokey flavor would be great with the whiskey. Thus, this dish was born.
The whiskey & smoke flavors were actually both pretty subtle. The whiskey aroma was definitely there in the onions & every now & then you got a nice little bite of its flavor in the pasta. Next time I would look for a smokier cheese as the one we bought was a little wimpy. Maybe we should try smoking our own?! Still this was a great batch of mac & cheese, actually Matt especially thought it was fabulous
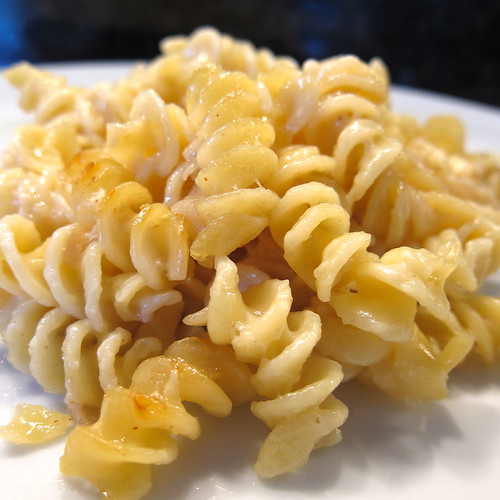
Whiskey & Smoke Mac & Cheese
The alcohol gets cooked out of the whiskey & the flavors are subtle so this is still a mac & cheese you could serve to your kids.
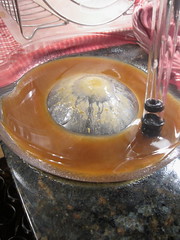
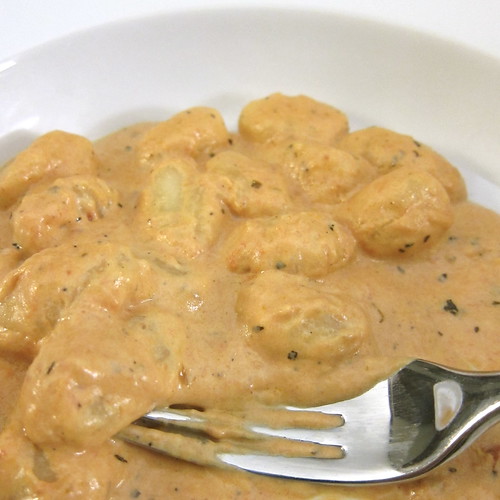
Batch of Whiskey Onions from Burb! Where Food Happens
1 lb pasta, we use rotini but elbow or small penne would work too
1 T unsalted butter
2 T all-purpose flour
1 c milk
1/2 c heavy cream
5 oz smoked mozzarella, chopped
4 oz white cheddar, chopped
1 t spicy brown mustard
salt & pepper
Caramelize the onions according to the recipe. They'll take you about 45 - 60 minutes. You should end up with about 1/2 c onions.
Preheat oven to 350 F.
Cook the pasta according to directions. Drain & set aside.
In a large saucepan melt the butter over medium heat. Add the flour. Stir while cooking for 1 minute, do not let brown. Slowly whisk in the milk & cream. Continue whisking until the sauce is hot, smooth & slightly thicken. Reduce the heat to medium-low. Add the cheese & mustard. Stir until the cheese is melted.
Mix the cheese sauce, pasta & onions together. Make sure to mix well so the onions are not in one big clump.
Bake for 25 minutes until golden brown on top.
6 servings. (If you are being healthy with your serving size though Matt & I ate half a batch for dinner last night.)
If you are not reading this post in a feed reader or at http://agoodappetite.blogspot.com OR at http://agoodappetite.com then the site you are reading is illegally publishing copyrighted material. Contact me at katbaro AT yahoo DOT COM. All recipes, text and photographs in this post are the original creations & property of the author unless otherwise noted. © 2007-2011 Kathy Lewinski